Power Automate Cloud Flow
Power Automate:-
Microsoft Power Automate is a tool that helps users create workflows between desired applications to synchronize files, get notifications, and collect data. This intelligent cloud-based solution uses triggers and actions to create chain reactions within a workflow so that repetitive, manual, and time-consuming tasks are accomplished without human intervention.
Types Of Flows:-
1) Cloud Flow
2) Desktop Flow
3) Business Process Flow
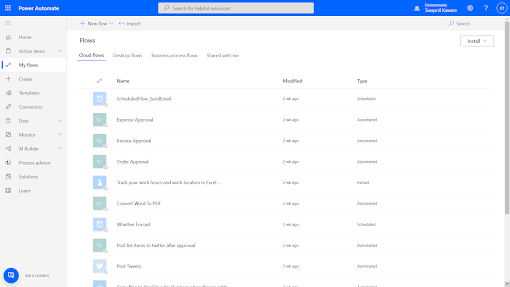
1) Cloud Flow
Cloud Flows are created by users when they want the automation to be triggered instantly,
automatically, or by embedding a schedule. For technical interpretation, cloud flow allows
you to create automated flows, instant flows, and scheduled flows.
- Automated Flow:-
Automated Flow Perform One Or More tasks automatically after flow is triggered by on event.
For the create Automated Flow we have to follow following steps.
- first sign with power automate desktop.
- then from left navigation bar select My flow.
- then click on New flow ribbon.
- select Power Automate flow

- Then write Flow name
- choose flow Trigger

- Enter the following information into the Send an email notification (V3) action:
To - Enter your email address to receive an email and test the instant flow.
Subject - Enter A record was added to the Customer Check In entity.
Email Body - Enter A new record for and select the First Name and Last Name fields from the list of fields under the Dynamic content option, and then type was entered today!
- Select Save.

- Instant Flow:-
Instant flow Help You to run repetitive tasks from any place. at any time via your mobile device with help of button just by clicking on the button you can trigger your flow and it will save your time.
you can create button flows either from your mobile device or from flow portal.
For the create Instant Flow we have to follow following steps.
- first sign with power automate desktop.
- then from left navigation bar select My flow.
- then click on New flow ribbon.

- select Instant flow

- Then write Flow name
- choose flow Trigger

- Enter the following information into the Send an email notification (V3) action:
To - Enter your email address to receive an email and test the instant flow.
Subject - Enter A record was added to the Customer Check In entity.
Email Body - Enter A new record for and select the First Name and Last Name fields from the list of fields under the Dynamic content option, and then type was entered today!
- Select Save.

- Scheduled Flow:-
Scheduled flow allow you to perform one or more tasks automatically. but here you can define when and how many times you want the action to be performed.
For the create Instant Flow we have to follow following steps.
- first sign with power automate desktop.
- then from left navigation bar select My flow.
- then click on New flow ribbon.

- select Scheduled flow

- The write flow name , Date, Time, Repetition.
- Click On Create.

- Enter the following information into the Send an email notification (V3) action:
To - Enter your email address to receive an email and test the instant flow.
Subject - Enter A record was added to the Customer Check In entity.
Email Body - Enter A new record for and select the First Name and Last Name fields from the list of fields under the Dynamic content option, and then type was entered today!
- Select Save.

Limitations of Power Automate or Microsoft Flow
- You are not permitted to run a second flow onto the continuation aspect of the current o running one.
- Reordering the steps within each flow is not enabled.
- Re-creating a flow and reconnecting it with new lists is complex and challenging.
- Advantages of Power Automate Flows
- Send a reminder to myself in 10 minutes.
- Get weather forecast for today.
- Get updates from the Power Automate blog.
- Send custom email when a new SharePoint list item is added.
- Start approval process for a new file to move it to another folder.


Comments
Post a Comment